Database software 설치하기 전 준비작업
설치환경
- VMware workstation 9
- OEL 5.4
- Oracle 11.2.0.3
그룹, 유저 생성 및 환경변수 설정
설치한 가상머신에 root user로 접속한 후 Database 설치를 위해 group 및 OS User를 생성한다.
[root@host01 ~]# groupadd oinstall
[root@host01 ~]# groupadd dba
[root@host01 ~]# groupadd oper
[root@host01 ~]# groupadd asmadmin
[root@host01 ~]# groupadd asmdba
[root@host01 ~]# groupadd asmoper

[root@host01 ~]# useradd -g oinstall -G dba, oper, asmdba, asmadmin, asmoper oracle
[root@host01 ~]# passwd oracle
그 다음 oracle database 관련 환경변수를 설정한다. 아래와 같이 ORACLE_HOME 경로, DB 이름 등을 설정해준다.
[root@host01 ~]# vi /home/oracle/.bash_profile# .bash_profile
# Get the aliases and functions
if [ -f ~/.bashrc ]; then
. ~/.bashrc
fi
# User specific environment and startup programs
PATH=$PATH:$HOME/bin
export PATH
# Oracle Settings
export ORACLE_BASE=/u01/app/oracle
export ORACLE_HOME=/u01/app/oracle/product/11.2.0.3/dbhome
export PATH=$ORACLE_HOME/bin:$PATH
export ORACLE_SID=PROD
export PS1="[\`echo \$ORACLE_SID\`@\h \W]$ "
unset LANG
아래 명령어를 통해 .bash_profile의 소유자를 변경해준다.
[root@host01 ~]# chown oracle:oinstall /home/oracle/.bash_profile
기본 패키지 설치
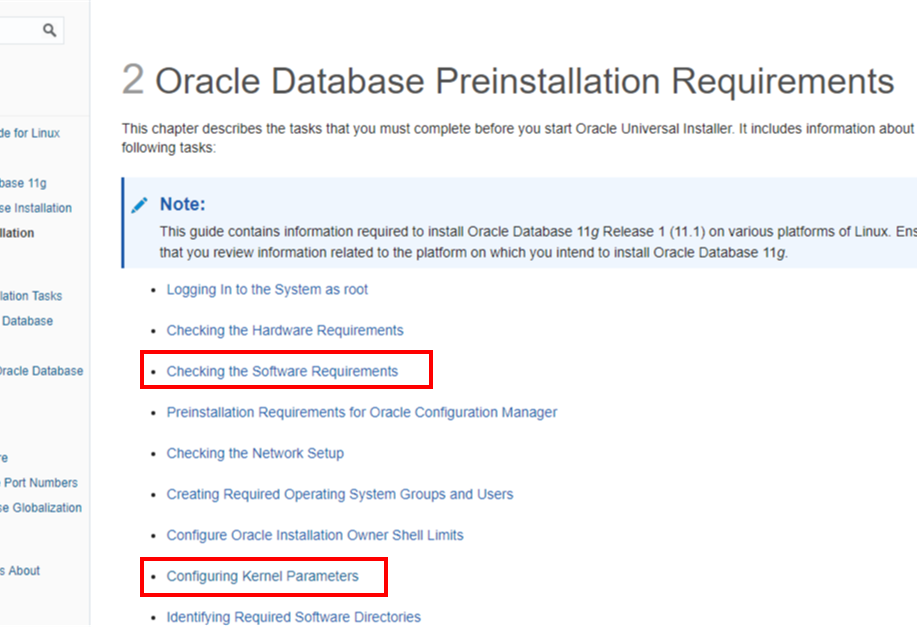
oracle documents에서 데이터베이스 설치를 위해 사전에 필요한 패키지들을 확인할 수 있다.
Oracle Database Preinstallation Requirements
6/21 2 Oracle Database Preinstallation Requirements This chapter describes the tasks that you must complete before you start Oracle Universal Installer. It includes information about the following tasks: Note: This guide contains information required to in
docs.oracle.com
필요한 패키지들을 설치해준다. Oracle 설치 버전에 따라서 요구되는 rpm 패키지가 다르다. 각 패키지에 대한 내용을 확인하기 위해서는 운영 체제 메뉴얼이나 해당 제조업체에 확인해야 한다.
[root@host01 ~]# yum install -Uvh binutils-2.*
[root@host01 ~]# yum install -Uvh compat-libstdc++-33*
[root@host01 ~]# yum install -Uvh compat-libstdc++-33*.i386.*
[root@host01 ~]# yum install -Uvh elfutils-libelf*
[root@host01 ~]# yum install -Uvh gcc-4.*
[root@host01 ~]# yum install -Uvh gcc-c++-4.*
[root@host01 ~]# yum install -Uvh glibc-2.*
[root@host01 ~]# yum install -Uvh glibc-common-2.*
[root@host01 ~]# yum install -Uvh glibc-devel-2.*
[root@host01 ~]# yum install -Uvh glibc-headers-2.*
[root@host01 ~]# yum install -Uvh ksh*
[root@host01 ~]# yum install -Uvh libaio-0.*
[root@host01 ~]# yum install -Uvh libaio-devel-0.*
[root@host01 ~]# yum install -Uvh libgomp-4.*
[root@host01 ~]# yum install -Uvh libgcc-4.*
[root@host01 ~]# yum install -Uvh libstdc++-4.*
[root@host01 ~]# yum install -Uvh libstdc++-devel-4.*
[root@host01 ~]# yum install -Uvh make-3.*
[root@host01 ~]# yum install -Uvh sysstat-7.*
[root@host01 ~]# yum install -Uvh unixODBC-2.*
[root@host01 ~]# yum install -Uvh unixODBC-devel-2.*
[root@host01 ~]# yum install -Uvh numactl-devel-*
VMware에 가상머신을 설치하는 마지막 단계에서 VMware Tools를 설치했었는데, 그 때 설정된 공유폴더의 위치로 이동한다.
[root@host01 ~]# cd /mnt/hgfs/share
커널 파라미터 설정
oracle documents를 참고하여 시스템 설정 작업을 진행한다.
Oracle Database Preinstallation Requirements
6/21 2 Oracle Database Preinstallation Requirements This chapter describes the tasks that you must complete before you start Oracle Universal Installer. It includes information about the following tasks: Note: This guide contains information required to in
docs.oracle.com
[root@host01 share]# vi /etc/sysctl.conf# for Oracle Database 11gR2
fs.suid_dumpable = 1
fs.aio-max-nr = 1048576
fs.file-max = 6815744
kernel.shmall = 2097152
kernel.shmmax = 4294967295
kernel.shmmni = 4096
kernel.sem = 250 32000 100 128
net.ipv4.ip_local_port_range = 9000 65500
net.core.rmem_default = 262144
net.core.rmem_max = 4194304
net.core.wmem_default = 262144
net.core.wmem_max = 1048576
Directory 생성 및 권한 부여
Oracle software 설치를 위한 Directory 생성 및 권한과 소유권을 수정해야 한다.
[root@host01 rpm]# mkdir -p /u01/app/oracle
[root@host01 rpm]# chown -R oracle:oinstall /u01
[root@host01 rpm]# chmod -R 775 /u01
Oracle 계정에 대한 세션 제한 설정
아래 명령으로 세션 설정 파일을 편집해야 한다. 각 계정의 Resource limit을 설정하며 위에서 만든 설치 계정별로 limit을 부여한다.
[root@host01 share]# vi /etc/security/limits.conforacle soft nproc 2047
oracle hard nproc 16384
oracle soft nofile 4096
oracle hard nofile 65536
oracle soft stack 10240
호스트 설정
[root@host01 share]# cd rpm
[root@host01 rpm]# vi /etc/hosts
# Do not remove the following line, or various programs
# that require network functionality will fail.
127.0.0.1 host01 localhost.localdomain localhost
192.168.100.111 host01
운영 DB에서는 ntp 사용이 필수이지만 지금은 가상 single DB라서 아래 과정을 생략해도 된다.
[root@host01 ~]# mv /etc/ntp.conf /etc/ntp.conf.org
oracle 홈페이지에서 다운받은 oracle linux 11g 파일의 압축을 해제한다. (압축 파일은 공유 폴더에 있어야 한다.)
[root@host01 rpm]# mkdir /stage
[root@host01 rpm]# cd /mnt/hgfs/share
[root@host01 share]# unzip  p10404530_112030_Linux-x86-64_1of7.zip -d /stage
[root@host01 share]# unzip  p10404530_112030_Linux-x86-64_2of7.zip -d /stage

[root@host01 share]# chown -R oracle:oinstall  /stage
[root@host01 share]# reboot
oracle database software 설치 준비 작업이 완료되었다. 이제 software를 설치하러 가보자!
Window Oracle DB software 설치2
DB 생성을 위한 DB software 설치 작업 터미널을 오픈하여 /stage/database 경로의 runInstaller 를 실행해서 DB 엔진 설치를 시작한다. 보안 업데이트 지원 uncheck 후 Next Skip software update 선택 후 Nex..
myalpaca.tistory.com
'ORACLE > DB' 카테고리의 다른 글
| Oracle DB 생성(DBCA, NETCA) (2) | 2020.07.15 |
|---|---|
| Window Oracle DB software 설치2 (2) | 2020.07.15 |
| Oracle 11g Linux Virtual Machine 설치2 (3) | 2020.07.14 |
| Oracle 11g Linux Virtual Machine 설치1 (3) | 2020.07.14 |
| VMware workstation 9 설치 (4) | 2020.07.13 |